Getting Started with Three.js + TypeScript
For a long time, Three.js has been a fascination of mine: the beautiful graphics, the engaging animations, the quirky colors and effects, the interactive experiences. Yet, I struggle to even get started.
The examples on the Three.js website are an inadequate way to start a proper project. Everything inside a single index.html file? Loading from a CDN? Where's the dependency management? The build system? The live reload?
Of course, these examples are great as for showcasing specific features. They’re not so great for anything more substantial. So after hitting my head against the wall with the same infrastructure-related problems time and again, I decided to do the only logical thing.
Create (yet another) Three.js + TypeScript boilerplate project.
In this blog post, I’ll walk you through my starter and how to use it, so you don’t have to spend hours debugging why a model or texture isn’t loading. I’ve done that for you. And if not, let me know.
Three.js + TypeScript + Vite Starter Project
I present you with the simple-threejs-typescript-starter! A name that really rolls off the tongue. You can find the repository here:
https://github.com/mayacoda/simple-threejs-typescript-starter
What do you get?
All the hard parts of setting up a project, solved ✅
Hard parts include:
- Development server with hot module replacement and live reload
- Up-to-date tech (TypeScript & Vite)
- Guide for asset handling
- Configured the build system
- GUI controls for debugging
- Examples that answer “Wait, how do I do xyz again…?”
Why TypeScript and Vite?
TypeScript is a superset of JavaScript that enables strong typing and better tooling.
I personally prefer the type safety and autocompletion it offers. With a modern IDE and a library as expansive as Three.js, TypeScript can act as a map through uncharted territory. It’s also very useful for setting up larger projects, but we'll get into that in a later post.
Vite is the new build tool which has been proving itself quite well. It's fast and very simple to use. This project doesn't include any special configuration, everything works out of the box.
Structure of the Boilerplate
The project is composed of the scaffolding and an example to showcase scene creation, model and texture loading, and creating a render loop.
The example is located under /src/example and its assets live under /public/space_dog
There are also a few quality of life utilities under /utils/ which you may or may not need. These can be removed freely.
The important part is the /src/main.ts file which acts as the entry point
for your project and the single canvas element inside the index.html.
Setting up your local project
To use this boilerplate, you'll have to clone the repository in your own project, in this case one called my-threejs-project, and install its dependencies.
_3git clone https://github.com/mayacoda/simple-threejs-typescript-starter my-threejs-project_3cd my-threejs-project_3yarn install
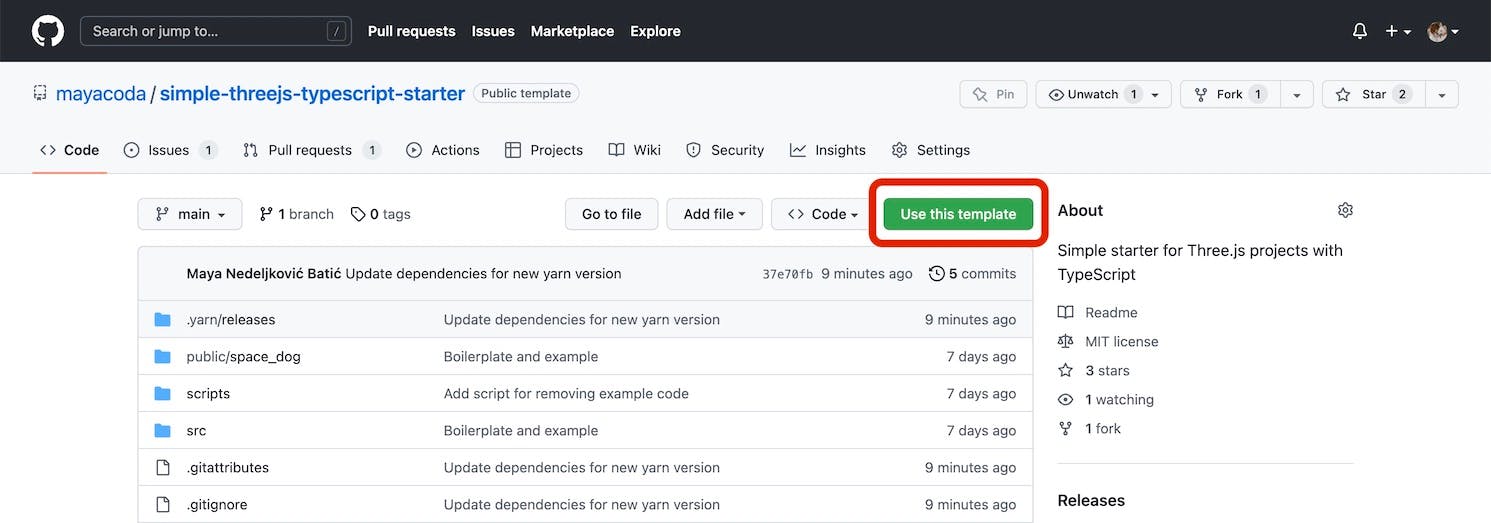
If you are on GitHub, create a new repository using this repository as a template by clicking the green Use this template button in the top right.

After you have cloned the project locally, you can start the development server using
_1yarn dev
Your server will be running at http://localhost:3000 and you can open the browser to see the example.


After you’ve explored the boilerplate project, you’ll probably want to remove
the sample scene and get to making your own. You can do this by running the
command yarn remove-example which will remove all the example code and
assets.
Asset handling
Because Vite does cache-busting by default, it can be a bit difficult to load assets required for Three.js. The simplest solution is to store all assets in the /public directory. Everything in this directory gets copied to the project root when you run yarn build.
These assets are therefore always available, even if Vite doesn't register that they're being used in the project. This feature can be especially useful for loading models and textures with Three.js, as Three.js loaders dynamically fetch assets referenced in other assets (e.g. texture maps referenced in MTL files).
Debug GUI
The project uses lil-gui for UI controls. The UI is loaded only when the application is running in debug mode, and you can do this by adding ?debug=true to the URL.
To add UI controls, you can access the single lil-gui instance with the getDebugUI function. The controls will only show up with the flag, so you can also debug in production ✨
_12import { getDebugUi } from '../utils/debug-ui'_12_12const gui = getDebugUi()_12_12gui.addColor(light, 'color').name('ambient light color')_12_12gui_12 .add(light, 'intensity')_12 .min(0)_12 .max(1)_12 .step(0.0001)_12 .name('ambient light intensity')
Final Thoughts
I hope this little starter is useful for you. As I develop more Three.js things, I plan on updating it accordingly. In the meantime, happy coding!
Follow me on Twitter @maya_ndljk or on GitHub @mayacoda for more Three.js related stuff.